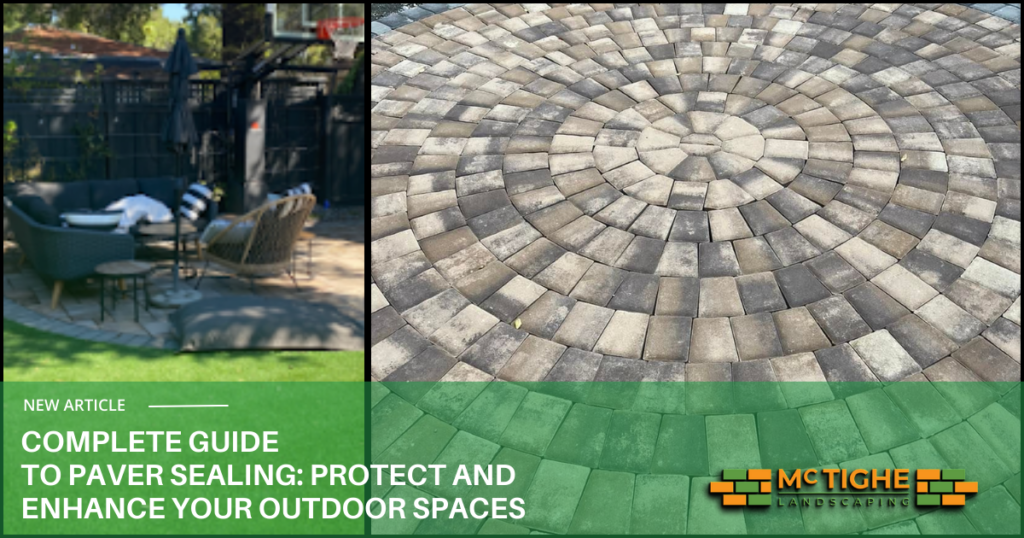
Paver Sealing: Protect and Enhance Your Paver Investment

alt="Stunning sealed paver patio demonstrating the protection and enhancement achieved through expert paver sealing" title="Beautiful Sealed Paver Patio">
Many homeowners invest in beautiful paver installations for their patios, driveways, and walkways, but overlook the crucial step of sealing. This guide will walk you through everything you need to know about paver sealing to protect and enhance your outdoor spaces. Continue reading to learn why sealing your pavers isn’t just an optional finishing touch—it’s a vital step in safeguarding your investment and ensuring your outdoor areas remain stunning for years to come. In this complete guide, we’ll explore all aspects of paver sealing, from understanding the process to selecting the right products and techniques for your specific needs.

Understanding Paver Sealing: The Key to Protected and Enhanced Outdoor Spaces

What is Paver Sealing?

Paver sealing is the process of applying a protective coating to concrete, brick, or natural stone pavers. This coating serves as a barrier, shielding your pavers from various environmental factors and daily wear and tear. The ultimate guide to paver sealing emphasizes that this process is crucial for both protecting and enhancing your outdoor spaces. The sealing process involves more than just applying a product to the surface of your pavers. It requires careful preparation, proper application techniques, and an understanding of the different types of sealants available. When done correctly, sealing can significantly extend the life of your pavers and enhance the beauty of your outdoor spaces.

Is Sealing Your Pavers Necessary?

Are you wondering if sealing your pavers is really necessary? You’re not alone. Welcome to the guide to paver sealing: protect and enhance your outdoor spaces! As a seasoned landscaping professional, I’m often asked about the importance of paver sealing. The short answer is: yes, sealing your pavers is crucial – but there’s more to it than just applying a product. Let’s dive into the world of paver sealing and uncover why it’s a vital step in maintaining your outdoor spaces.

Pavers are a popular choice for outdoor spaces, adding beauty and functionality to patios, driveways, and walkways. However, many homeowners overlook a crucial step in maintaining these surfaces: sealing. As a seasoned landscaping professional, I’ve seen firsthand the dramatic difference that proper sealing can make in the longevity and appearance of paver installations.

Benefits of Sealing Your Pavers: Protect and Enhance Your Investment

  1. Protection from stains: One of the primary benefits highlighted in our ultimate guide to paver sealing is increased resistance to stains. Sealed pavers are much less likely to absorb spills from oil, grease, wine, or other common outdoor contaminants.
  2. Enhanced color: Many sealants have the added benefit of enhancing the natural colors of your pavers, truly enhancing your outdoor spaces.
  3. Reduced weed growth: Properly applied sealant fills in the small gaps between pavers, making it more difficult for weeds to take root.
  4. Improved longevity: Sealed pavers are better protected against the elements, including UV rays, rain, and freeze-thaw cycles.
  5. Easier maintenance: Sealed surfaces are generally easier to clean and maintain, a key aspect of protecting your outdoor spaces.
  6. Sand stabilization: For pavers set in sand, sealants can help stabilize the joint sand, preventing it from washing away.
  7. Increased property value: Well-maintained outdoor spaces can significantly boost your property’s curb appeal and value.

The Paver Sealing Process Involves Several Crucial Steps

1. Preparation

  • Remove all furniture and decorations
  • Sweep the area thoroughly
  • Inspect for damage

2. Cleaning

  • Use a specialized paver cleaner
  • Consider pressure washing for tough stains
  • Rinse thoroughly

3. Drying

  • Allow 24 hours for complete drying
  • Ensure no trapped moisture

4. Sealing

  • Choose ideal weather conditions (65-85°F, low humidity)
  • Apply evenly in small sections
  • Use appropriate tools (roller or sprayer)
  • Remove excess sealant

5. Curing

  • Allow 24-48 hours before foot traffic
  • Keep vehicles off for at least 72 hours
Following these steps carefully will ensure the best results in protecting and enhancing your outdoor spaces through paver sealing.

Types of Paver Sealants: Choosing the Right Protection for Your Outdoor Spaces

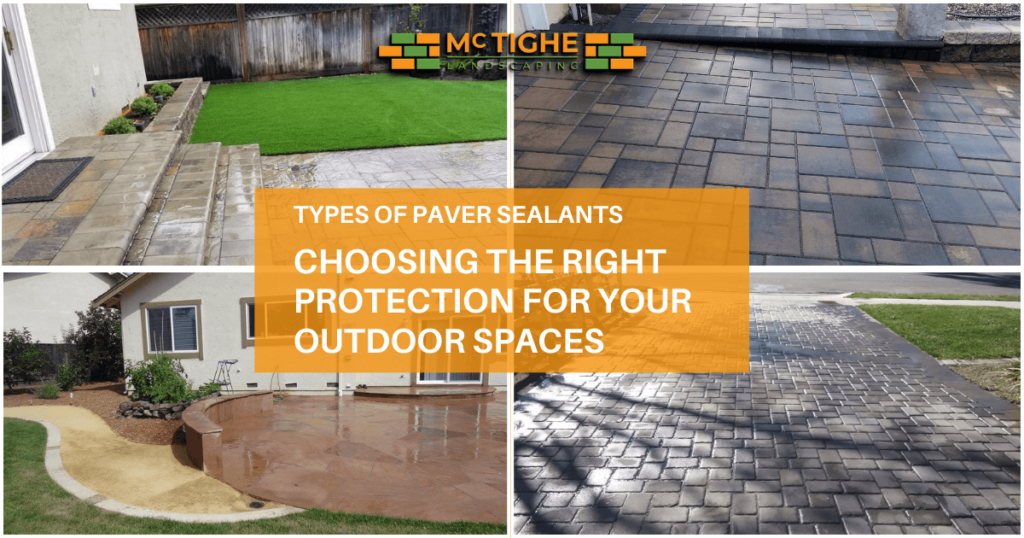
Our complete guide to paver sealing wouldn’t be complete without discussing the types of sealants available. There are two main categories:

  • Film-Forming Sealants

    These create a visible layer on the paver surface, offering the highest level of protection.

    • Wet Look: Enhances color and provides a glossy finish.
    • Clear Look: Provides protection without significantly altering appearance.


  • Non-Film-Forming Sealants

     These penetrate the paver surface without creating a visible film.

    • Natural Look: Protects while maintaining the original appearance.
    • Color Boost: Enhances color without adding shine.


Choosing the right sealant is crucial for achieving the best results in protecting and enhancing your outdoor spaces. Consider:
  1. Paver material
  2. Desired finish
  3. Location and traffic
  4. Climate considerations
  5. VOC content
  6. Water-based vs. solvent-based
  7. UV resistance
  8. Breathability


Comparison of various paver sealant types, illustrating different levels of protection and enhancement for outdoor spaces

When to Seal Your Pavers: Timing is Key in Protecting Your Outdoor Spaces

Knowing when to seal is a crucial part of our ultimate guide to paver sealing. Proper timing ensures the best protection and enhancement of your outdoor spaces.


For New Pavers

  • Non-film-forming sealants**: Wait at least one week after installation.
  • Film-forming sealants**: Allow 30 days for proper curing.


Resealing Existing Pavers

Plan to reseal your pavers every 3-5 years, but be aware of signs that resealing is needed:

  1. Color changes when wet
  2. Fading or dulling of paver color
  3. Increased staining or discoloration
  4. Water absorption
  5. Visible wear in high-traffic areas
  6. Loose joint sand


Common Mistakes to Avoid in Paver Sealing

Even with the best intentions, mistakes can happen. Our ultimate guide to paver sealing helps you avoid these common pitfalls:

  1. Over-applying sealant
  2. Sealing dirty or wet pavers
  3. Using the wrong type of sealant
  4. Neglecting proper surface preparation
  5. Applying sealant in poor weather conditions
  6. Ignoring manufacturer instructions
  7. Failing to test in an inconspicuous area


Proper maintenance extends the life of your sealed pavers:

  1. Routine cleaning
  2. Prompt spot cleaning
  3. Annual deep cleaning
  4. Regular re-sealing
  5. Avoiding harsh chemicals
  6. Protecting from scratches
  7. Proper winter care


Professional vs. DIY Sealing: Choosing the Best Approach to Protect Your Outdoor Spaces

Our complete guide to paver sealing wouldn’t be complete without a detailed walkthrough of the process:
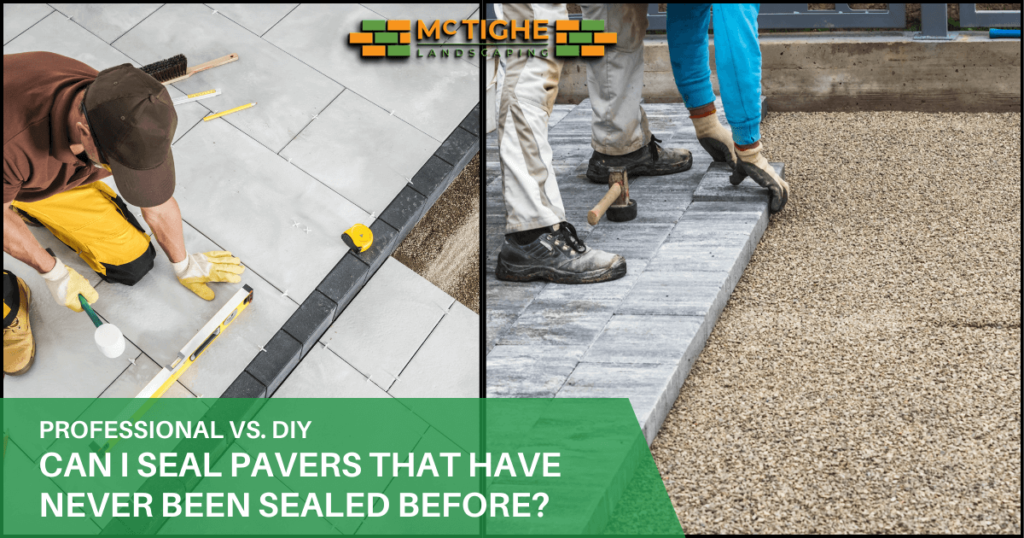
Detailing the steps of paver sealing: preparation, cleaning, drying, sealing, and curing for optimal outdoor space protection

Advantages of Professional Sealing

  1. Expertise in product selection
  2. Proper equipment and techniques
  3. Time-saving for large areas
  4. Potential warranty or guarantee
  5. Thorough preparation and cleaning

When to Consider DIY

  1.  Small areas
  2. Experience with home improvement
  3. Budget constraints
  4. Desire for hands-on involvement

Environmental Considerations: Eco-Friendly Ways to Protect and Enhance Your Outdoor Spaces

As part of our ultimate guide to paver sealing, we emphasize environmentally friendly practices:

  1. Low-VOC sealants
  2. Water-based options
  3. Proper disposal of materials
  4. Biodegradable cleaning products
  5. Sustainable paver options
  6. Permeable paver systems
  7. Energy-efficient application methods


Troubleshooting Common Paver Sealing Issues

Future Trends in Paver Sealing: The Evolution of Protecting and Enhancing Outdoor Spaces

Stay ahead with these emerging trends:
  1. Nano-technology sealants
  2. Self-cleaning sealants
  3. Color-enhancing sealants
  4. Eco-friendly innovations
  5. Smart application technologies


Conclusion: Protecting the Longevity of your Patio & Driveway Pavers

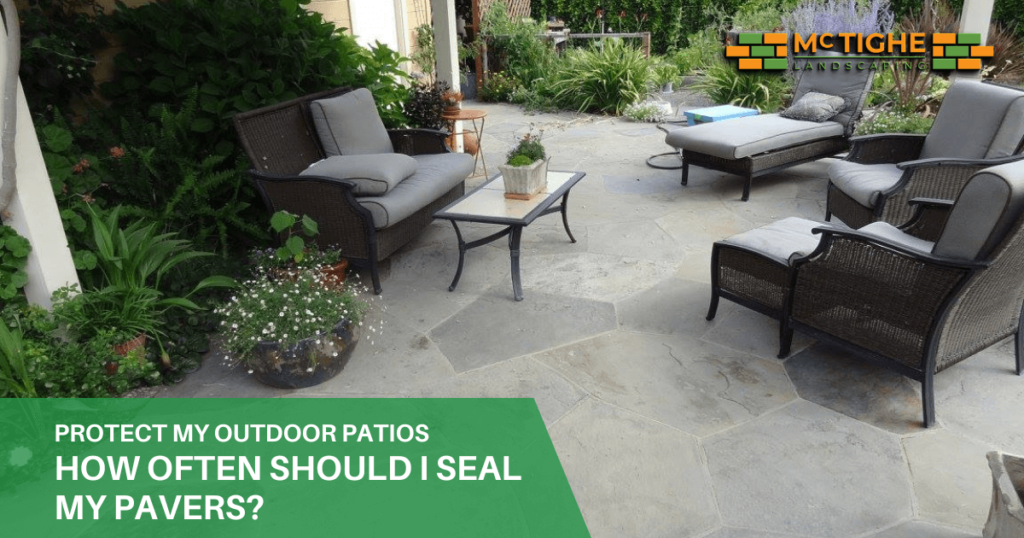
Before and after images of paver sealing, demonstrating enhanced color, protection, and overall appearance of outdoor spaces

Sealing your pavers is more than just a cosmetic treatment—it’s a crucial step in protecting your investment and ensuring the longevity of your outdoor spaces. By understanding the process, choosing the right products, and following proper application techniques, you can enhance the beauty of your pavers while significantly extending their lifespan. 

Remember, whether you choose to tackle paver sealing as a DIY project or hire a professional, the key to success lies in thorough preparation, careful application, and ongoing maintenance. With the knowledge gained from this guide, you’re well-equipped to make informed decisions about paver sealing and enjoy beautiful, protected outdoor spaces for years to come.

Next Steps

Ready to protect and enhance your paver investment? Don’t leave your beautiful outdoor spaces vulnerable to stains, fading, and wear. Our expert team at McTighe Landscaping is here to help you choose the right sealant and apply it correctly, ensuring long-lasting protection for your pavers. and enhancement for your outdoor spaces.

Contact us today for a free consultation and quote. We’ll assess your specific needs and provide professional recommendations tailored to your outdoor space.

Call: (669) 232-8050  to schedule your paver sealing service.

Alternatively, you may let us know what project you have in mind by filling out the information in this form. 

Let’s work together to keep your hardscaping looking beautiful for years to come!

We service the following areas Los Gatos, Sunnyvale, Mountain View, Saratoga and Cupertino California.

Frequently Asked Questions Our Other Readers Found Helpful

Generally, pavers should be resealed every 3-5 years. However, this can vary based on climate, usage, and the type of sealant used. Look for signs of wear like color fading or increased staining to determine if it's time to reseal.

It's best to wait before sealing new pavers. For non-film-forming sealants, wait at least one week. For film-forming sealants, allow 30 days for the pavers to cure properly before sealing.

 Some sealants, particularly those with a high-gloss finish, can make pavers slightly slippery when wet. If this is a concern, choose a sealant with a matte finish or one that includes anti-slip additives.

Yes, you can seal pavers that have never been sealed before. In fact, it's a great way to protect and enhance older paver installations. Just ensure they are thoroughly cleaned and in good condition before applying the sealant.

The durability of paver sealing depends on various factors, including the type of sealant used, climate conditions, and amount of foot traffic. On average, a good quality sealant should last 3-5 years before needing reapplication.

Facebook
Pinterest

Enhance Your Outdoors – Contact Us Today for Top-Quality Landscaping and Hardscaping Services!

Join our other insiders by signing up to our monthly newsletter. Get tips on design, landscaping insights and promotions

Png 5
Crafting exceptional spaces, blending innovative design with quality construction, to transform your vision into reality.

Company

Copyright © 2024 McTighe, All rights reserved - powered by HSEO